
Install and Configure Quest SDA Appliances
Install Configure Quest – Install and configure Quest SDA appliances, including virtual and physical setup, IP settings, DHCP, PXE, FTP, WinPE, backups and package export.
Virtual Appliance
Download
Install Configure Quest – Download link: download-new-releases
Prerequisites
| Requirement | Details |
|---|---|
| Processor | Two or more vCPUs |
| Memory | 4 GB or more (Dedicated/Shared = High) |
| Network Interface | One Ethernet Port |
| Available Disk Space | 500 GB, 1 TB, 3 TB (VMware®); 500 GB, 1 TB (Microsoft® Hyper-V®) |
Physical Appliance
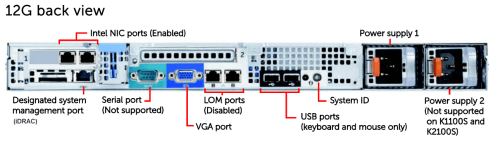
Install Configure Quest – If you have opted for physical appliances, here is a KACE article on configuring iDRAC cards: idrac-for-k-appliances
Install Configure Quest – With a diagram of the Appliances:
Network
Used Ports
Install Configure Quest – The appliance must have an internet connection for driver downloads and appliance activation:
- 80 — HTTP
- 139, 135, 445 — SAMBA share
- 22 — SSH (outbound only for tethers, and for syncing to RSA and single sign-on)
- 389 — LDAP (if using LDAP authentication)
- 636 — LDAPS (if using secure LDAP authentication)
- 67 — DHCP
- 69 — TFTP
- 4011 — PXE
- 8108 — Media Manager
Install Configure Quest – Source: kb 129799
Network Configuration
Install Configure Quest – Reserve an IP address for the Appliance and create a DNS alias. Follow the detailed steps to properly configure your network.
Configuration on Console
- At the platform’s startup, we use the native KACE account:
- Login: konfig
- Password: konfig
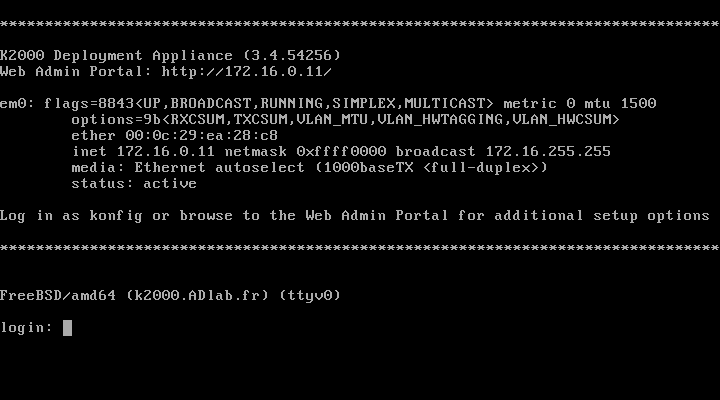
- At this point, the platform prompts the administrator to enter essential information for its proper functioning on the target network.
- Once the various fields are filled in and saved, the platform automatically restarts to finalize its internal settings.
- Upon restart, we confirm the successful validation of the information entered:
Configuration On Web Console
License and Admin Password Configuration
Install Configure Quest – From the web console: http://SDA
- The first page to which the QUEST platform redirects corresponds to its initial setup.
- You must enter the first pieces of information necessary for the platform’s proper functioning.
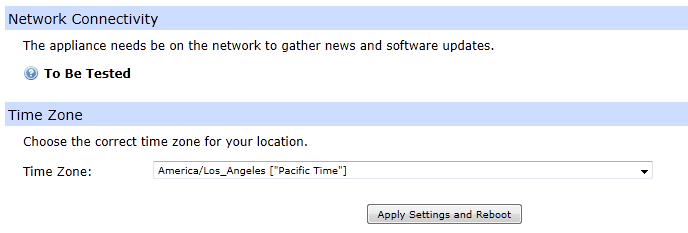
- Once the initial configuration is applied, the KBOX SDA restarts.
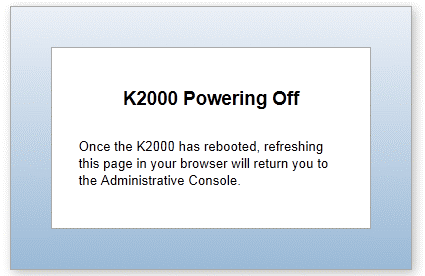
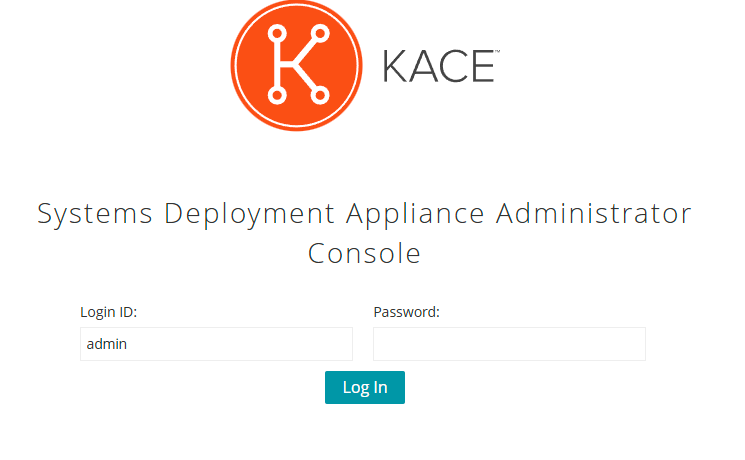
- You can then log into the Appliance (with the admin account).
Password Configuration
Install Configure Quest – Summary of passwords in SDA:
Install Configure Quest – In “Settings ” “Control Panel” “General Settings”:
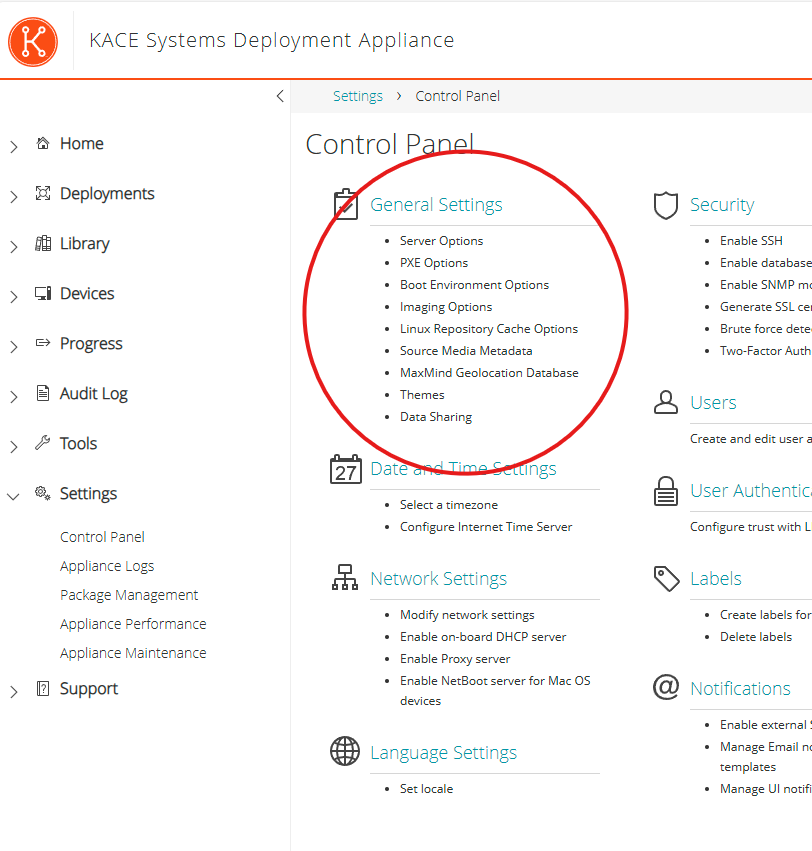
Install Configure Quest – Three passwords are essential in K2000. Make sure to configure them properly to avoid any security issues:
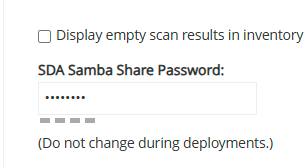
- Samba Share Password
- This password is used to connect to KACE shares (driver uploads, etc.) and by the WinPE environments.
- If you change this password, you will need to recreate the WinPE images.
- Boot Manager Password
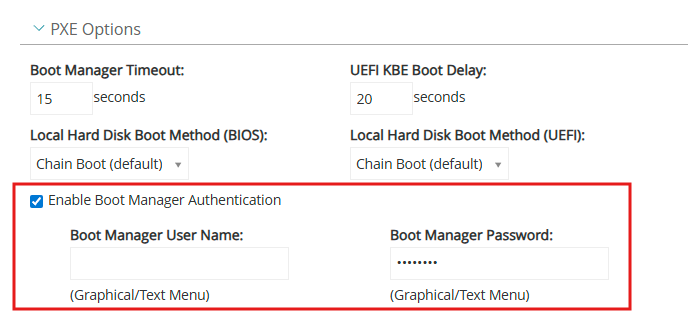
- This password is used by the PXE and prevents WinPE boot for those who do not know the password.
- Attention: The password will be entered on the physical station with a QWERTY keyboard, while from the interface, the password will be entered with an AZERTY keyboard.
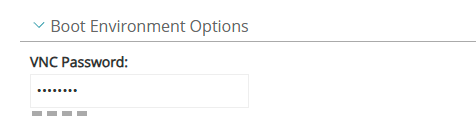
- VNC Password
- This password allows control over the WinPE environments.
Install Configure Quest –
DHCP in Windows 2012 or Later
Install Configure Quest – Note: UEFI PXE is supported, but Secure Boot must be disabled unless you deploy a properly signed bootloader.
Scope-wide settings
- Option 66 (Boot Server Host Name): set to the SDA’s IP or FQDN.
- Do not set Option 67 at scope level; it will be set by policy.
Create Vendor Classes
Install Configure Quest – In DHCP Manager → IPv4 → Set Predefined Options… → Vendor Classes… → Add:
- Name:
BIOS PXE Boot
ASCII:PXEClient:Arch:00000 - Name:
UEFI x64 PXE Boot
ASCII:PXEClient:Arch:00007 - Name:
UEFI x86 PXE Boot
ASCII:PXEClient:Arch:00009
Install Configure Quest – (Tick Append wildcard when prompted so sub-matches are included.)
Create PXE Policies (per Scope)
Install Configure Quest – Right-click your Scope → Policies → New Policy…
A. BIOS policy
- Name:
BIOS PXE Boot Policy - Condition: Vendor Class is → BIOS PXE Boot (with Append wildcard enabled)
- No IP range criteria
- Vendor Class (Options): set Option 67 (Bootfile Name) =
undionly.kpxe
B. UEFI policy (one policy, two classes)
- Name:
UEFI PXE Boot Policy - Conditions:
- Vendor Class is → UEFI x64 PXE Boot (Append wildcard) → Add
- Vendor Class is → UEFI x86 PXE Boot (Append wildcard) → Add
- No IP range criteria
- Vendor Class (Options): set Option 67 (Bootfile Name) =
ipxe.efi
Result (what you should see)
- 1× Option 66 at scope level (SDA address).
- 2× Policies total:
- BIOS policy → Option 67 =
undionly.kpxe - UEFI policy (covers Arch 00007 & 00009) → Option 67 =
ipxe.efi
- BIOS policy → Option 67 =
Quick reference
- Arch 00000: Legacy BIOS (x86)
- Arch 00007: UEFI x64
- Arch 00009: UEFI x86
Backups
Install Configure Quest – Schedule regular backups to avoid data loss. Whether you choose to back up manually or automatically, we guide you through the process.
Scheduling
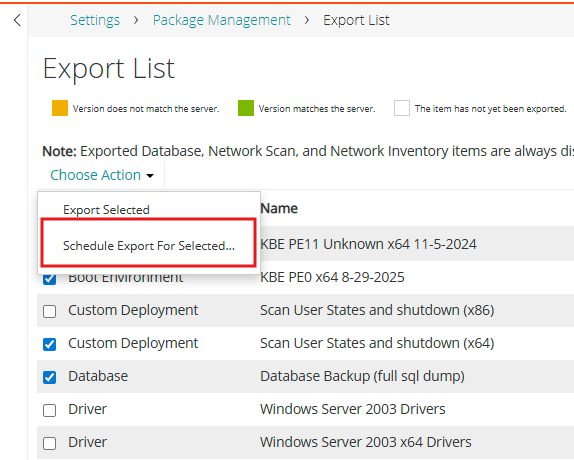
- In “Setting ”, select the “Package Management” tab
- Then select the packages to export and choose “Schedule export for selected”
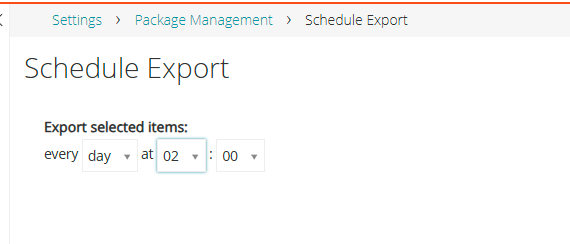
- Schedule the export time
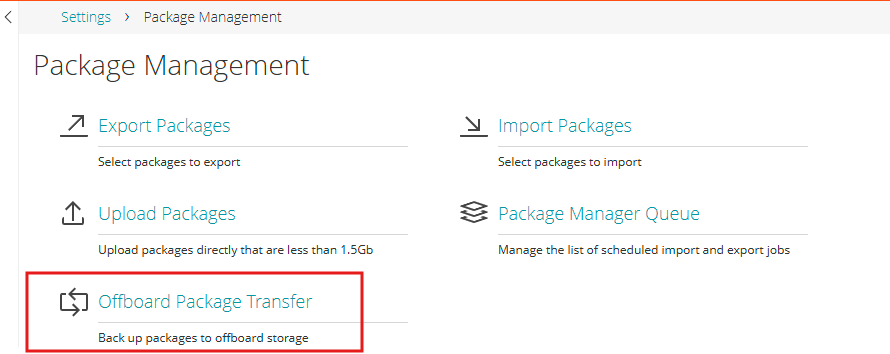
- In “Setting ”, select the “Package Management” tab
- Select “Offboard Package Transfer”
Package Export
Install Configure Quest – If your Appliance crashes, it is necessary to export the packages,
Install Configure Quest – EXPORT TO AN FTP SERVER
- Activate “Enable Offboard Package Transfer”
- The backup can be performed on an FTP server.
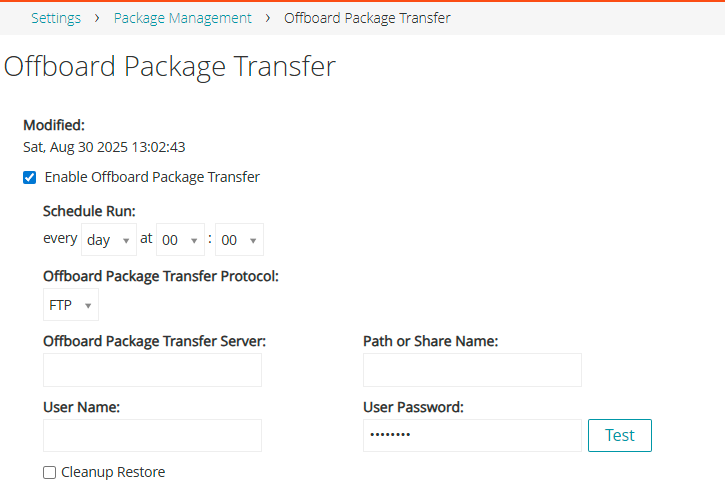
Install Configure Quest – Be cautious, when adding new images or tasks, you will need to schedule the export of these new packages.