
Overview
This guide describes the validated, minimal procedure for using the tanium-provision-webservice project with Tanium Provision.
Tanium Provision remains responsible for PXE boot, content distribution, the OS bundle, install.wim, unattend.xml, WinPE drivers and the Tanium Client. The Web Service adds MDT-like deployment logic:
- computer identification by serial number;
- computer name, deployment profile, country, language, keyboard and time zone;
- application and driver selection;
- hardware compatibility warnings;
- default or model-specific Bundle ID selection;
- deployment messages and final status tracking.
Step 1 – Install
Download the complete installation package
Git is not required. The GitHub ZIP includes the Web Service, the functional CSV configuration, Python 3.13, URL Rewrite and ARR installers.
From an elevated PowerShell session, on a new server where C:\WebService does not already exist, run:
$Archive = 'C:\tanium-provision-webservice.zip'

try {
    curl.exe --location --fail --retry 3 `
        --output $Archive `
        'https://github.com/dwbdav/tanium-provision-webservice/archive/refs/heads/main.zip'

    if ($LASTEXITCODE -ne 0) {
        throw "GitHub download failed with curl exit code $LASTEXITCODE."
    }

    Expand-Archive -LiteralPath $Archive -DestinationPath 'C:\' -Force
    Rename-Item -LiteralPath 'C:\tanium-provision-webservice-main' -NewName 'WebService'
}
finally {
    Remove-Item -LiteralPath $Archive -Force -ErrorAction SilentlyContinue
}
curl.exe is used here instead of Invoke-WebRequest because Windows PowerShell can spend significant time refreshing its download progress display. The retry and exit-code checks also make the download more reliable.
Confirm that these three prerequisite installers are present:
C:\WebService\install\rewrite_amd64_en-US.msi
C:\WebService\install\requestRouter_amd64.msi
C:\WebService\install\python-3.13.13-amd64.exe
Install Python 3.13
IIS, URL Rewrite and ARR are not required for this local HTTP test. They are needed only later, when publishing the service through an HTTPS reverse proxy.
Python must be installed manually before running
install.ps1. The PowerShell script does not install Python.
Run C:\WebService\install\python-3.13.13-amd64.exe. Select Customize installation, choose Install for all users, and set the installation directory to:
C:\Program Files\Python313Verify the installation:
& 'C:\Program Files\Python313\python.exe' --versionPrepare the Web Service environment
From an elevated PowerShell session, run:
PowerShell.exe -NoProfile -ExecutionPolicy Bypass -File C:\WebService\install\install.ps1install.ps1 checks the manually installed Python runtime, creates C:\WebService\venv, installs the required packages and validates the imports. It stops with an explicit error if Python is missing.
Test locally over HTTP
The service uses Secure session cookies by default. For this one local HTTP test, disable the Secure flag in the current PowerShell process and start the service:
$env:WS_COOKIE_SECURE = '0'
& C:\WebService\install\StartWebService.ps1
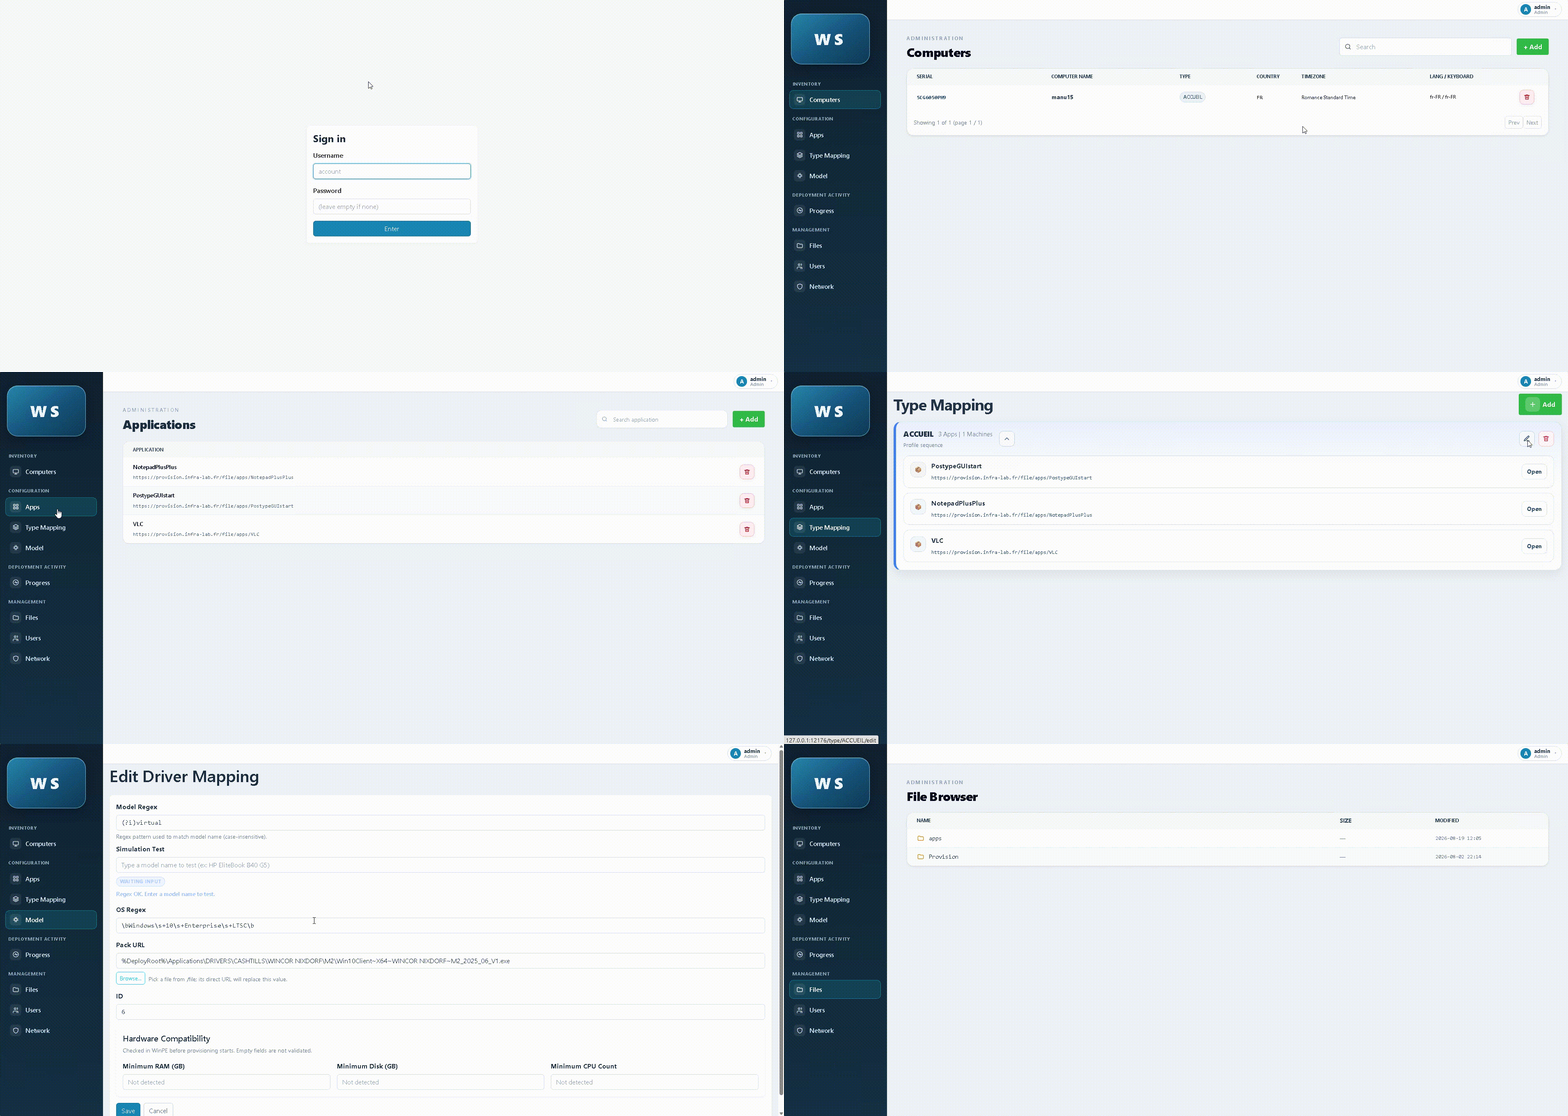
Open http://127.0.0.1:12176/login. Sign in with admin and an empty password, then set an administrator password immediately. Confirm that the interface and sample data load correctly.
After the HTTP test, stop the service with
Ctrl+Cand close that PowerShell window.WS_COOKIE_SECURE=0must not be used for the HTTPS service.
Step 2 – Configure Reverse Proxy
Configure the IIS HTTPS reverse proxy
This step is not required for the local test on
http://localhost:12176. Complete it only when the service must be published on its final HTTPS address.
Install IIS, URL Rewrite and ARR
Install-WindowsFeature Web-Server,Web-Mgmt-Tools -IncludeManagementTools- Run
C:\WebService\install\rewrite_amd64_en-US.msiand complete the installation. - Run
C:\WebService\install\requestRouter_amd64.msiand complete the installation. - Close and reopen IIS Manager after both installations.
Install URL Rewrite first and ARR second. Both supplied MSI files are signed by Microsoft Corporation.
Enable the ARR proxy
- Open IIS Manager and select the server.
- Open Application Request Routing Cache.
- Select Server Proxy Settings.
- Enable Enable proxy, then select Apply.
You can also enable the ARR reverse proxy from an elevated PowerShell session:
& "$env:windir\System32\inetsrv\appcmd.exe" set config `
    /section:system.webServer/proxy `
    /enabled:"True" `
    /commit:apphost

iisreset
HTTP 404.4: if an absolute rewrite target such as
http://127.0.0.1:12176/is treated as a static resource, confirm that ARR proxy mode is enabled. Also verify the backend first by openinghttp://127.0.0.1:12176/logindirectly on the server.
Allow the forwarded headers
At server level, open URL Rewrite, select View Server Variables, and add these four variables:
HTTP_X_FORWARDED_PROTO
HTTP_X_FORWARDED_HOST
HTTP_X_FORWARDED_FOR
HTTP_X_FORWARDED_PREFIX
Before creating the web.config file, open an elevated PowerShell session and allow all four forwarded variables globally in IIS.
& "$env:windir\System32\inetsrv\appcmd.exe" set config `
    /section:system.webServer/rewrite/allowedServerVariables `
    /+"[name='HTTP_X_FORWARDED_HOST']" `
    /commit:apphost
& "$env:windir\System32\inetsrv\appcmd.exe" set config `
/section:system.webServer/rewrite/allowedServerVariables `
/+"[name='HTTP_X_FORWARDED_PROTO']" `
/commit:apphost& "$env:windir\System32\inetsrv\appcmd.exe" set config `
/section:system.webServer/rewrite/allowedServerVariables `
/+"[name='HTTP_X_FORWARDED_FOR']" `
/commit:apphost& "$env:windir\System32\inetsrv\appcmd.exe" set config `
/section:system.webServer/rewrite/allowedServerVariables `
/+"[name='HTTP_X_FORWARDED_PREFIX']" `
/commit:apphost
iisresetThese permissions are stored in applicationHost.config. Without them, the URL Rewrite module returns HTTP 500.50 with error code 0x80070005 when the application-level rule attempts to set the forwarded headers.
Configure the Default Web Site
- In IIS Manager, open Sites and select Default Web Site.
- Add an HTTPS binding with the final DNS name and its TLS certificate. Enable SNI when the server hosts several HTTPS bindings.
- Edit the default website configuration file:
C:\inetpub\wwwroot\web.config. - If the file already contains other IIS settings, preserve them and add the reverse-proxy rule inside the existing
<system.webServer>element.
Do not create a separate
ProvisionProxyfolder or a second IIS website. The reverse proxy is configured on Default Web Site.
For an otherwise empty default web.config, use the following configuration. It publishes the application under /provision/, removes that prefix before forwarding the request to Flask, and supplies X-Forwarded-Prefix so generated links retain the public path:
<?xml version="1.0" encoding="UTF-8"?>
<configuration>
  <system.webServer>
    <rewrite>
      <rules>
        <rule name="ProvisionAddTrailingSlash" stopProcessing="true">
          <match url="^provision$" />
          <action type="Redirect" url="/provision/" redirectType="Permanent" />
        </rule>

        <rule name="ProvisionReverseProxy" stopProcessing="true">
          <match url="^provision/(.*)$" />
          <serverVariables>
            <set name="HTTP_X_FORWARDED_PROTO" value="https" />
            <set name="HTTP_X_FORWARDED_HOST" value="{HTTP_HOST}" />
            <set name="HTTP_X_FORWARDED_FOR" value="{REMOTE_ADDR}" />
            <set name="HTTP_X_FORWARDED_PREFIX" value="/provision" />
          </serverVariables>
          <action type="Rewrite" url="http://127.0.0.1:12176/{R:1}" appendQueryString="true" />
        </rule>
      </rules>
    </rewrite>
  </system.webServer>
</configuration>
Restart without the HTTP test setting
Open a new elevated PowerShell window and start the backend normally. Do not set WS_COOKIE_SECURE=0:
& C:\WebService\install\StartWebService.ps1Open the final address, for example https://server.example.com/provision/login. Confirm that authentication works, redirects remain on the HTTPS hostname, and no certificate warning is displayed. Port 12176 should remain accessible only from the server or trusted management network.
Automatic startup
$Action = New-ScheduledTaskAction -Execute "PowerShell.exe" -Argument '-NoProfile -ExecutionPolicy Bypass -WindowStyle Hidden -File "C:\WebService\install\StartWebService.ps1"'
$Trigger = New-ScheduledTaskTrigger -AtStartup
$Principal = New-ScheduledTaskPrincipal -UserId "NT AUTHORITY\SYSTEM" -LogonType ServiceAccount -RunLevel Highest
Register-ScheduledTask -TaskName "TaniumProvisionWebService" -Action $Action -Trigger $Trigger -Principal $Principal -Force
Start the scheduled task once and repeat the HTTPS login test.
Step 3 – Connect to Web Service
Configure deployment data
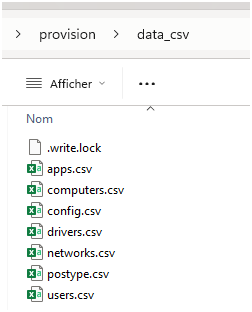
The downloaded project is immediately usable. The repository already contains the functional sample files
apps.csv,computers.csv,config.csv,drivers.csv,networks.csv,postype.csvandusers.csv. Do not rename or copy any CSV file.
With the IIS reverse proxy active, open https://server.example.com/provision/login, replacing server.example.com with the DNS name configured in IIS. When testing locally on the IIS server over HTTP, use http://127.0.0.1/provision. Do not use the backend address http://127.0.0.1:12176/login for this step.
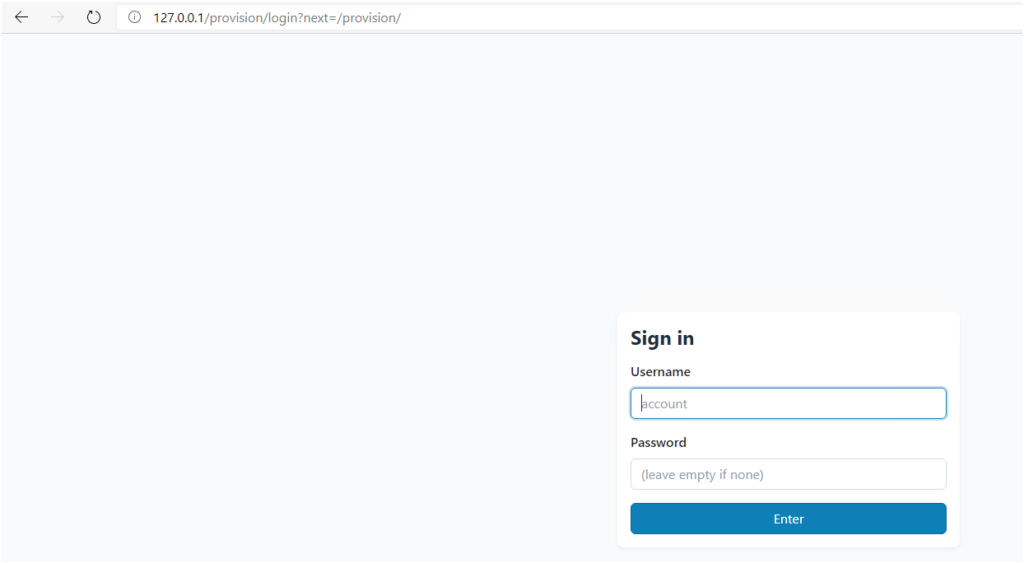
User Admin account (blank password)
Start the Web Service, sign in with admin and an empty password, then set an administrator password immediately. The supplied records can be used to test the interface and should be adapted to your own Tanium environment before production deployment.
Computers and profiles
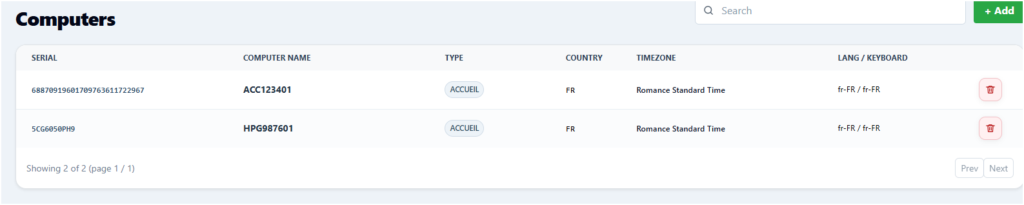
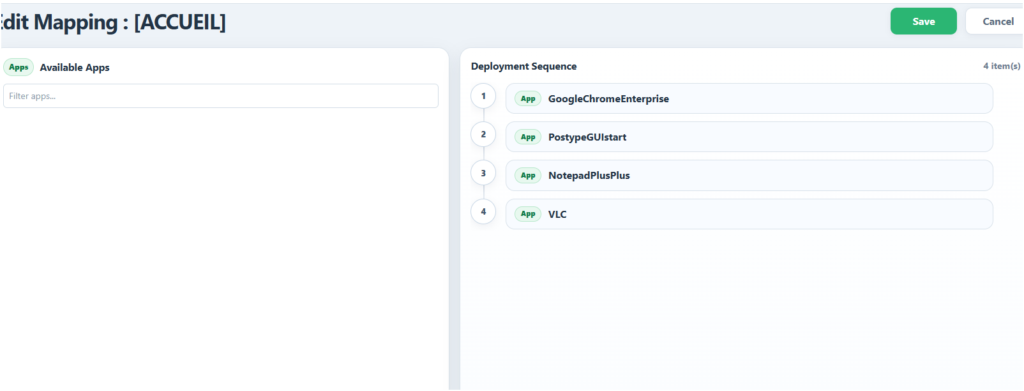
A computer record maps its serial number to a computer name and deployment profile. It can also define country, language, keyboard and time zone. The profile determines which applications are returned during deployment.
Applications
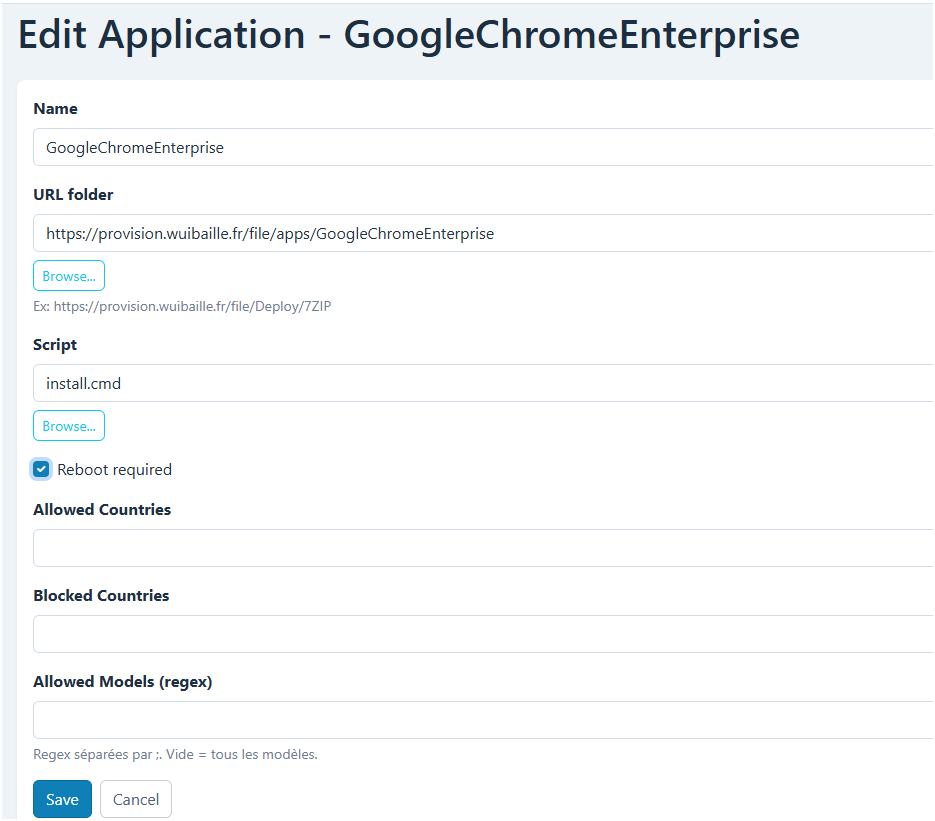
The GitHub ZIP already includes every application payload referenced by
apps.csv:PostypeGUIstart,NotepadPlusPlusandVLC, underC:\WebService\file\apps. No separate copy offile\appsis required.
Applications can use HTTPS, UNC or local sources and can be filtered by profile, country and model. Start with the reboot option disabled. Enable it only after validating Tanium’s RebootAndRerun flow with the current bundle in a lab.
Drivers and hardware requirements
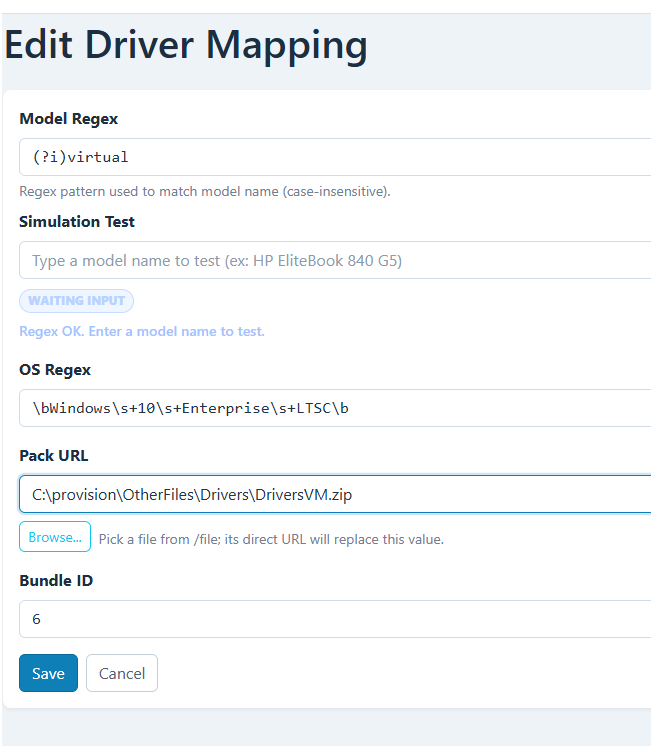
Driver rules are optional. They match a model and OS with regular expressions. Supported package handling includes .zip, .cab, .7z, .exe and .ps1; extracted INF files are installed with pnputil. A .7z package requires 7-Zip on the endpoint.
The same model rule can define minimum RAM, disk size and CPU count. If the endpoint does not meet these values, the current workflow displays a warning and continues after confirmation; it is not a hard block.
Storage
Configuration and inventory remain stored in data_csv. The application uses DuckDB as its query layer and a write lock to protect the CSV files. Deployment tracking and runtime logs are stored under logs.
Back up
data_csvandlogs, but never commit production inventory, password hashes,.secret_keyor runtime logs to the public repository.
Step 4 – Configure Tanium Bundle
Add the customer launchers to the OS bundle
Use the four small launchers from TaniumProvisionBundle\OtherFile:
Customer-PE-Pre.ps1Customer-PE.ps1Customer-Pre.ps1Customer.ps1
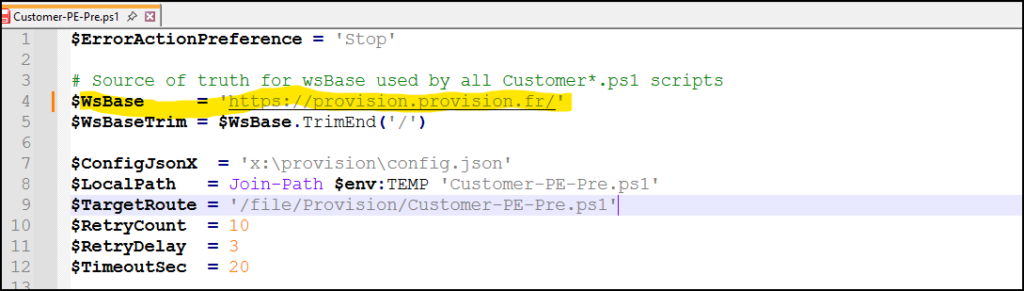
Edit only Customer-PE-Pre.ps1 and set $WsBase to the public base URL:
$WsBase = 'https://server.example.com/provision/'The first launcher stores this value in the deployment context. The other three launchers reuse it and download the current full scripts from /file/Provision/. This keeps the bundle small and allows the server-side logic to be updated without rebuilding the OS bundle.
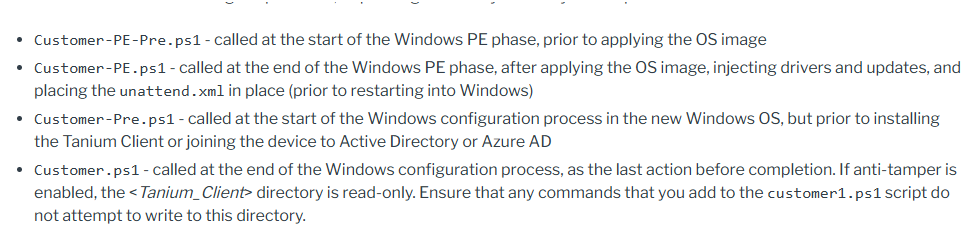
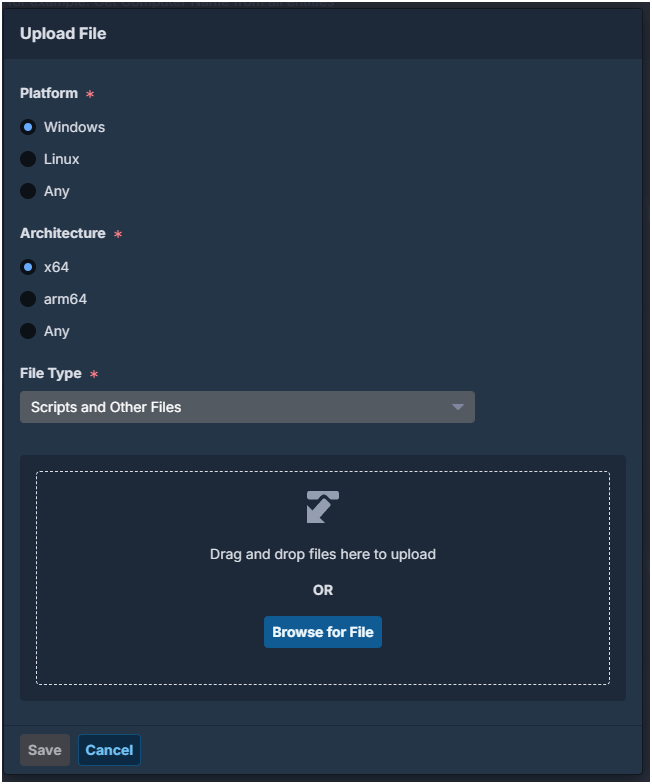
Place the four launchers at the root of a ZIP archive and add that archive to the bundle’s Other Files section.
Optional local payload
If applications need local files, add a separate archive whose name matches provision*.zip. During the Windows phase, the script extracts it to:
C:\provision\OtherFilesLocal application paths can then reference files inside that folder.
Validate the complete deployment
- Open the HTTPS login page and confirm that authentication works without a redirect loop.
- Test
/tanium/bundle?serial=TEST&model=TEST; it must return JSON with"status":"ok". - Test
/tanium/globalwith a known model; it must return the expected Bundle ID. - Confirm that
/file/raw/Provision/Customer-PE-Pre.ps1returns the current script. - PXE boot a lab endpoint and verify serial number, model, hardware warning, computer context and profile.
- Validate one application and one driver before adding more packages.
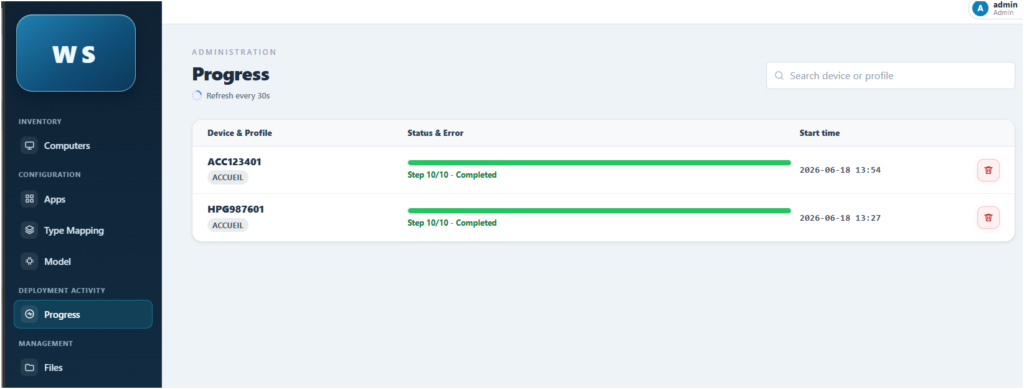
- Confirm that deployment messages and the final result appear in the Web Service.
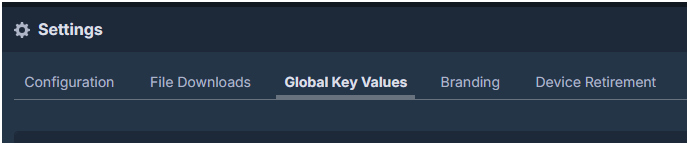
Configure Tanium Web Service variables (optionnel)
In Tanium Provision settings, configure the Global Web Service URL with the exact endpoint:
https://server.example.com/provision/tanium/globalImportant:
/tanium/globalreturnsBundleIDandBundleTimeout. The/tanium/bundleroute is a diagnostic probe and does not select the OS bundle.
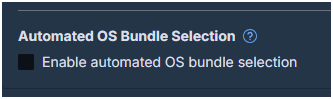
Leave Automated OS Bundle Selection disabled when this Web Service supplies the Bundle ID.
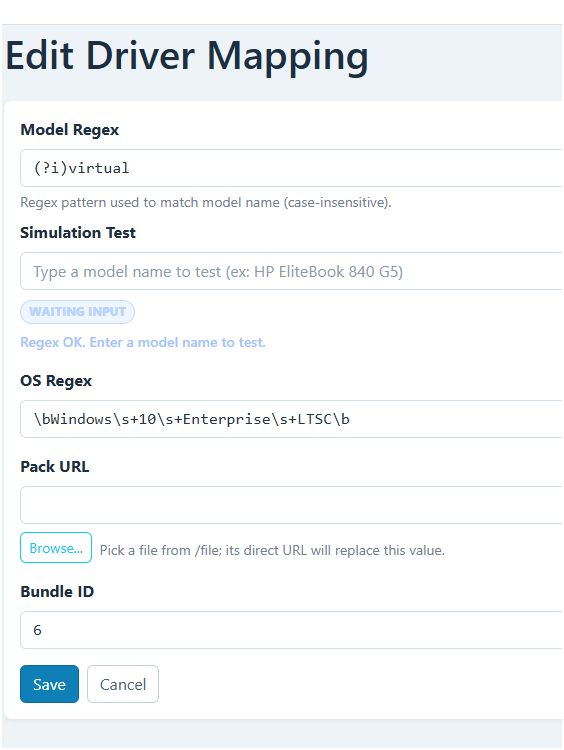
Configure either a default Bundle ID or a Bundle ID on a model rule. Model-specific values take priority; the default is used when no model rule matches.

A successful selection returns a response similar to:
{"BundleID":123,"BundleTimeout":120}An empty {} response means that neither a model-specific Bundle ID nor a default Bundle ID is configured.
Troubleshooting
- HTML or a login page instead of JSON: verify the URL, reverse proxy and public API route. Device API calls must not be redirected to
/login. /tanium/globalreturns{}: configure a default Bundle ID or a Bundle ID on the matching model rule.- Customer launcher cannot download its script: verify
$WsBase, DNS, TLS and/file/raw/Provision/Customer-PE-Pre.ps1. - Deployment ends but the profile or applications are missing: inspect the earlier hardware and context messages. End-of-deployment success does not prove that the pre-script completed correctly.
- 7z driver package fails: install 7-Zip on the endpoint or use ZIP/CAB.
- Application requests a reboot: keep this option disabled until
RebootAndRerunhas been validated with the current scripts and bundle.